What an epic this morning's battle became. It proved a real test of the Feathertone-Style Marlburian rules, and as such I've made a few alterations to them, some of which are clarifications, others a response to those moments where I thought - 'that's not right'. As a result, being hit in the flank is even nastier and will make sure that all sides think very carefully before dangling their edges in the air.
So without much further ado - the battle report!
 |
| The second turn saw the French Brigade advance towards the Austrians. Both the Austrians and the British had moved forwards into the wheat fields. |
 |
| The first exchange of fire, and the Starhemberg regiment takes the lumps! |
 |
| The Austrians try to give back, but without success. |
 |
| The French cavalry advances, while the Spanish Dragoons move to a position where they can charge the advancing British, should they become disordered. |
 |
| Rivers'Regiment engages the Toledo regiment on the hill - on the right the Starhemberg regiment has fallen back a little, out of short range. |
 |
| On the right the petite guerre will rage all day - with no result. |
 |
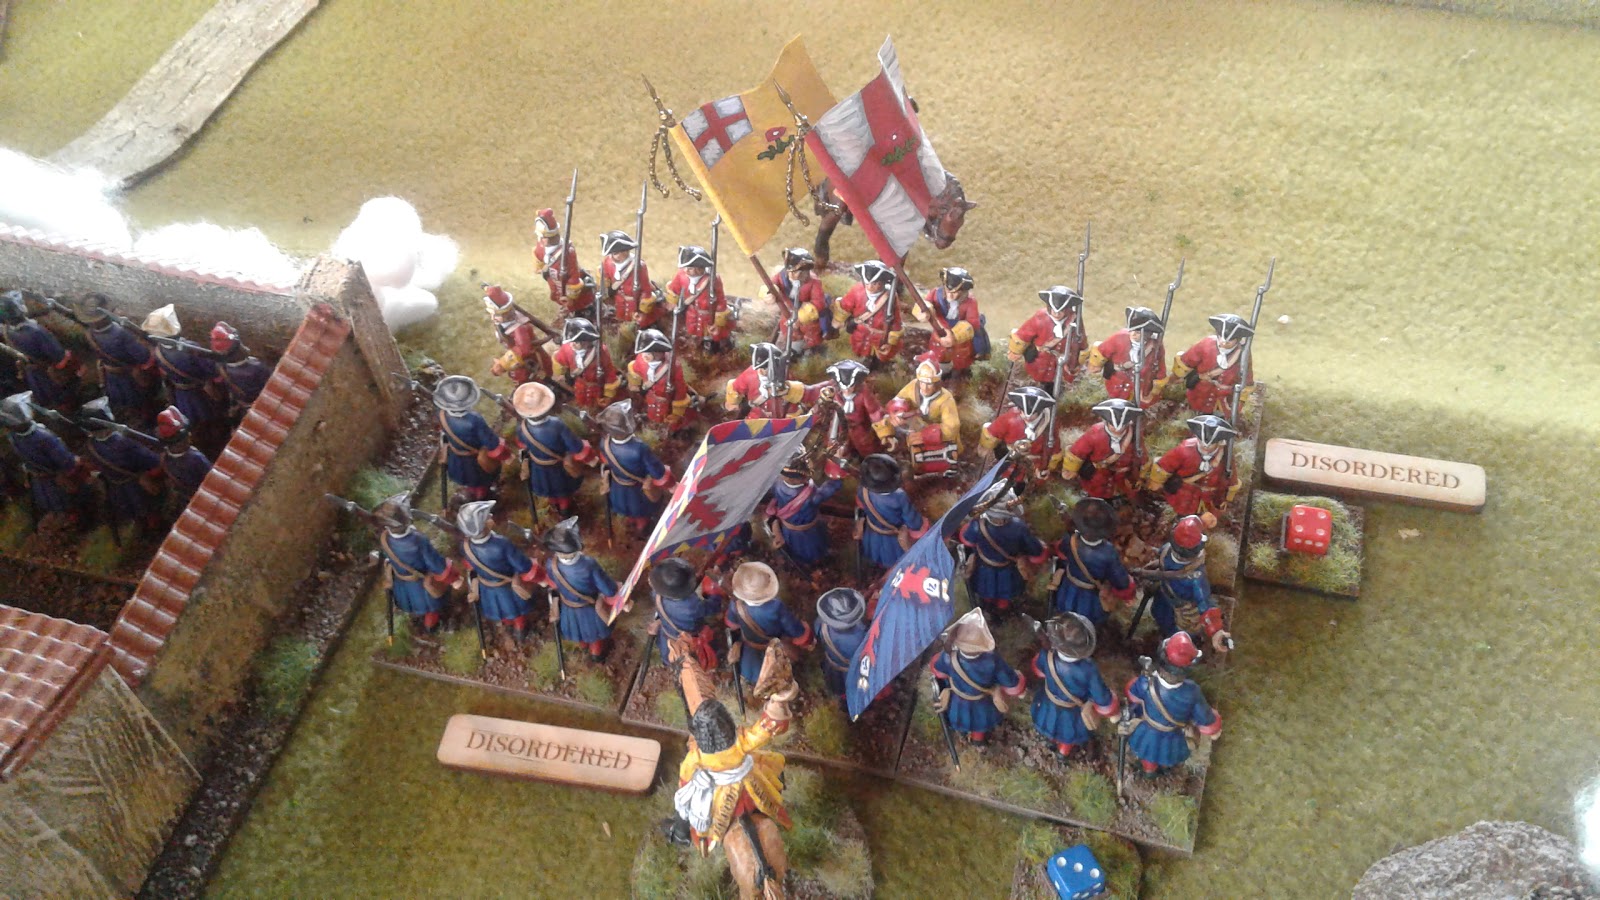
| The British are determined to take the farm. |
 |
| While the French and Austrians continue to exchange volleys. |
 |
| Rivers' Regiment charges! |
 |
| And is forced back. |
 |
| The battle-line in the centre |
 |
| The French are winning the firefight. |
 |
| Undaunted, Rivers' Regiment attacks again. As do the English Guards. |
 |
| Only to be repulsed - again! |
 |
| Now that they are disordered the O'Mahoney dragoons strike the English Guards and push them back. |
 |
| And again Rivers' boys try to break the Toledo regiment. |
 |
| After considerable time facing off against each other, the cavalry charges! |
 |
| The result is a mixed bag for both sides. |
 |
| The Auvergne regiment charge Starhemberg's regiment, only to be repulsed and - horror - the general is killed in the melee. |
 |
| This will be the last throw of the dice for Rivers' Regiment - but the hill remains elusive. |
 |
| The Bouville Dragoons charge Jorger's regiment. |
 |
| Although barely dented, the Austrian dragoons flee off the battlefield. |
 |
| The Auvergne regiment finally pushes back the Starhembergs. |
 |
| A view from the victorious French lines |
 |
| But the Orleans regiment can't break the Osnabrucks in the wheatfield. |
 |
| The Osuna Dragoons make a final attempt to push off the English Guards, only to be rendered hors de combat. |
 |
| This view of the battlefield shows the depth of reserves on both sides. |
 |
| But in the cavalry battle things have taken a turn for the worse. The Bouville Dragoons have gone on to wipe out the English gun, while the Pelleport cavalry have seen off Killigrew's Dragoons and are preparing to face the last of the Confederate cavalry, the Zinzendorf regiment. |
 |
| A view of the centre shows the danger that the Bouville dragoons are causing as they sweep around the rear of the Confederate army. |
 |
| Orleans charge again |
 |
| And the Osnabruck regiment melts away. |
 |
| A final charge by the guards sees them repulsed from the farm, and the Dutch general that was with them is cut down! |
 |
| The Bouville Dragoons wipe out the Austrian gun. |
 |
| The Zinzendorf Dragoons are forced back again, and the flanks of the Confederate infantry are exposed. |
 |
| With no generals in the centre, the Confederate attack is stalled beyond saving. |
 |
| The surviving Confederate generals confer and agree - time to retreat! |
At one stage it looked as if the Allies might carry the centre quickly, but when the British troops were repulsed, they never really got back into it. The Confederate cavalry failed spectacularly, and was a massive contributing factor to their defeat. The heroes of the day for the Allies had to be the Auvergne, Orleans and Toledo regiments, which bore the brunt of the fighting. On the Confederate side one can't go past the way that Rivers' regiment time and again threw itself against the Allied line. Dud of the day were the Jorger Dragoons. Time to replace the colonel there I think!
As to the battle's name, I went to a random Spanish word generator and put two words together. Why is this crossroads called 'Eight green'? Something to do with the Visigoths I expect...
Nate


So many splendid troops on this table...what a period!
ReplyDeleteIt is my favourite historical period bar none.
DeleteA splendid looking game and always good to get some your recently painted units on to the tabletop.
ReplyDeleteAbsolutely Peter. It keeps that enthusiasm fired up for later in the year.
DeleteA great first outing Nate - my sympathies lie with the Dutch/Danish/British - so not happy with the result - but they will come another day I am sure!
ReplyDeleteI suspect that my sympathies lie with them too, which means that the I played both sides even handedly.
DeleteBrilliant stuff Nathan! Rivers' Regiment doesn't know when to give up.
ReplyDeleteThey had their orders. No use arguing with them!
DeleteGreat looking fight, Nathan! Getting this project onto the table so quickly is an accomplishment. Love the look of this one.
ReplyDeleteSo much colour. I look forward to seeing how much the table will be jammed up when I've finished everything.
DeleteWonderful Nathan. You have certainly built up a significant number of troops there.
ReplyDeleteThanks Mark. It's gameable at the moment, so I'll add troops in pairs in the future so that both sides have access to equal forces if necessary.
Delete