Showing posts with label War of Spanish Succession. Show all posts

Sunday, 17 May 2020

Spanish town so far

The church is finished, bar a couple of little additions that I will get to when I have the chance to find the necessary accessories.


At the same time this building was completed:
So the Spanish village so far has 8 buildings and looks like this:
And if you add in the walled farm bases that I built, it looks like this:

I have more buildings planned, but they will probably be a couple of months away in the next school holidays.
The final touches of drybrushing were also put to the Great War building.

Right. Back to school tomorrow and back to evening painting sessions - I have plenty to get on with starting with the last of the Successors.

Nate

Saturday, 16 May 2020

Church build continued

Further progress on the Spanish church, and the tall slim building for the town.
From the front

And the back
You might notice in the background is one of my completed buildings. I've been making sure that they can fit together with the new buildings in a town. To the right of this picture is the tavern, the bare bones of which are finished, but I've run out of tiling sheets, so it is a few steps behind.

The black on the church is not because it caught fire. I spray painted the interior of the tower and the windows black, as I won't be able to get a brush into those places.
After taking this photo I went back to the roof on the church tower and tried tidying it up.  It's definitely been the most challenging part of the build so far.
 Also on today's terrain building list was wallpapering my ruined 1/32 WWI house. I went online and found some Victorian wallpaper designs and chose one, which I then copy and pasted into publisher, making a full sheet of the pattern and printed it off.
You can see a few British Tommies in what remains of the structure. Three units of 6 figures can probably occupy this position. I will probably make a second one sometime in the future.

Craig's next box of toys to be painted arrived today, and I need to hurry up and get his Successors finished, so I'll try and finish the church and house tomorrow.

Nate

Friday, 15 May 2020

Towards a complete Spanish Town

In terms of terrain I've always largely made my own. and been satisfied with a relatively limited selection of versatile buildings, trees etc. But there are some interesting scenarios in the Scenarios for all Ages book involving sieges, forlorn hopes and urban battles that could do with a decent number of buildings to be constructed. As The Spanish Succession is my 'big battle' period, I've decided to try and create an effective urban environment for that era. So Spanish buildings are my current construction project. Last week I built 2 houses with porches, one of which featured in my last game. Today I began a church, a tavern, and a smaller townhouse, and plan to add to these as time goes by.
Here is the church under construction:

The inspiration for this building comes from Paul Darnell's Touching History book. Tomorrow I'll be adding decoration and the roof, although I need to order some more Spanish pantiles before I complete the tower.

Nate

Wednesday, 13 May 2020

The Spanish Flank Attack continued

After heading back to work today I decided to come home and play a few more turns of the game. It took about an hour and it was all over. This time I remembered to take a few more photos.

As the Old Yellows screen the Austrians in the farm the Spanish horse press forward in the centre, battering back the Jorger Dragoons.

The Jorger Dragoons sat just behind the infantry line - note that the Spanish horse do not have much in the way of support in this photo.

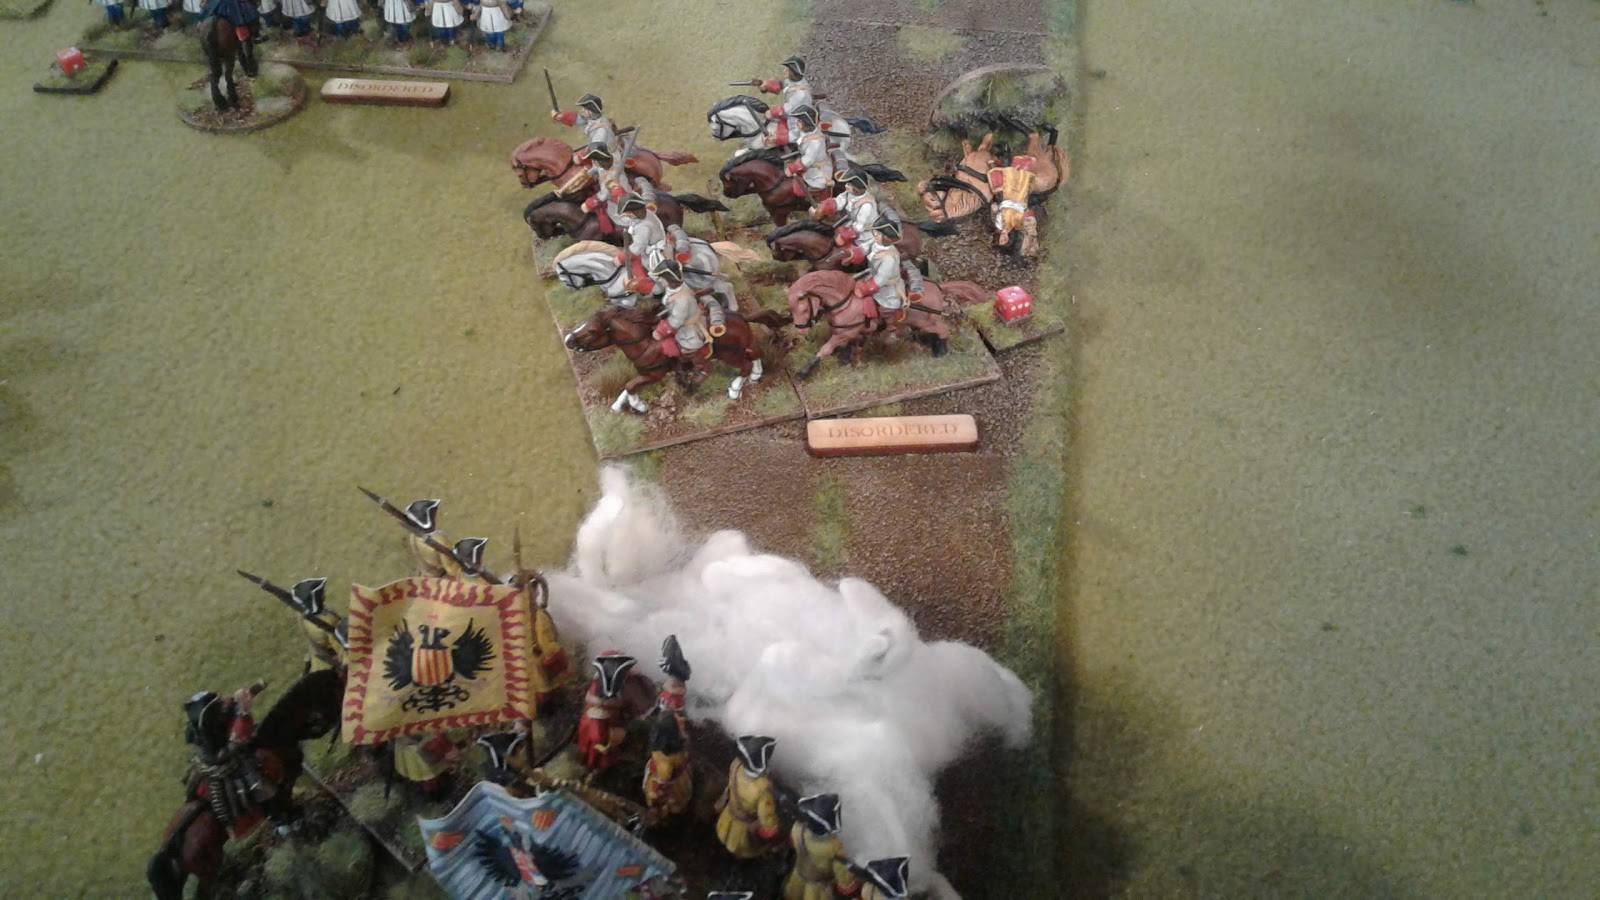
In a brave act of craziness, the Starhemberg regiment charged the Spanish artillery. Surprisingly they managed to reach it and rout it, opening the road north. This is not a manoeuvre that a general should rely on, but with the artillery being virtually unsupported it was a desperate gamble that paid off.

At the same time St Amant's regiment were keeping the Old Blues occupied, so that they could not offer support  to the artillery.

The Spanish horse decide to charge the Jorger Dragoons again, with Mohito-Borracho urging them on. If they can rout the Austrians then the Confederate army will be split and the Spanish can deal with them in detail.

Except the Dragoons win the combat against the odds. The Spanish fall back within range of the Catalonian Guards who pour in a close range volley. In the hailstorm Mohito-Borracho falls!

With the close range volleys weakening them, the Spanish horse are assaulted again by the Jorger Dragoons. It all proves too much and they break.

In hot pursuit the Jorger Dragoons cut down the fleeing Spaniards

This leaves the Jorger Dragoons slightly exposed as the Spanish line straightens.

The O'Mahoney Dragoons take the opportunity to charge the Austrians, holding all the advantages

But the Jorger Dragoons have their blood up and send the Spaniards into a rout. The pursuit runs them down, and all of a sudden the Spanish flank attack is in trouble.

With all of the Spanish infantry screened it is time for the Confederates to pack up and march off.

The cards enable the Osnabruck regiment to slink out of the farm and march down the road pretty much unharrassed. The Jorger Dragoons fall back to a point where they can counterattack any attempt by the Spanish infantry to interrupt the withdrawal. St Amant and Starhemberg continue to whittle down the Old Blues until the rest of the army escapes. Confederate victory!
 Just a couple of small changes to the rules from this playtest. I was really pleased with how they played. The real test was if they rewarded correct tactics, and they did. The destruction of the Spanish horse due to them over-extending themselves and the success of combined arms in seeing them off worked just as it should. I think that the percentages and modifiers are about right for shooting and combat, although I did reduce the threshold for grapeshot to cause damage.
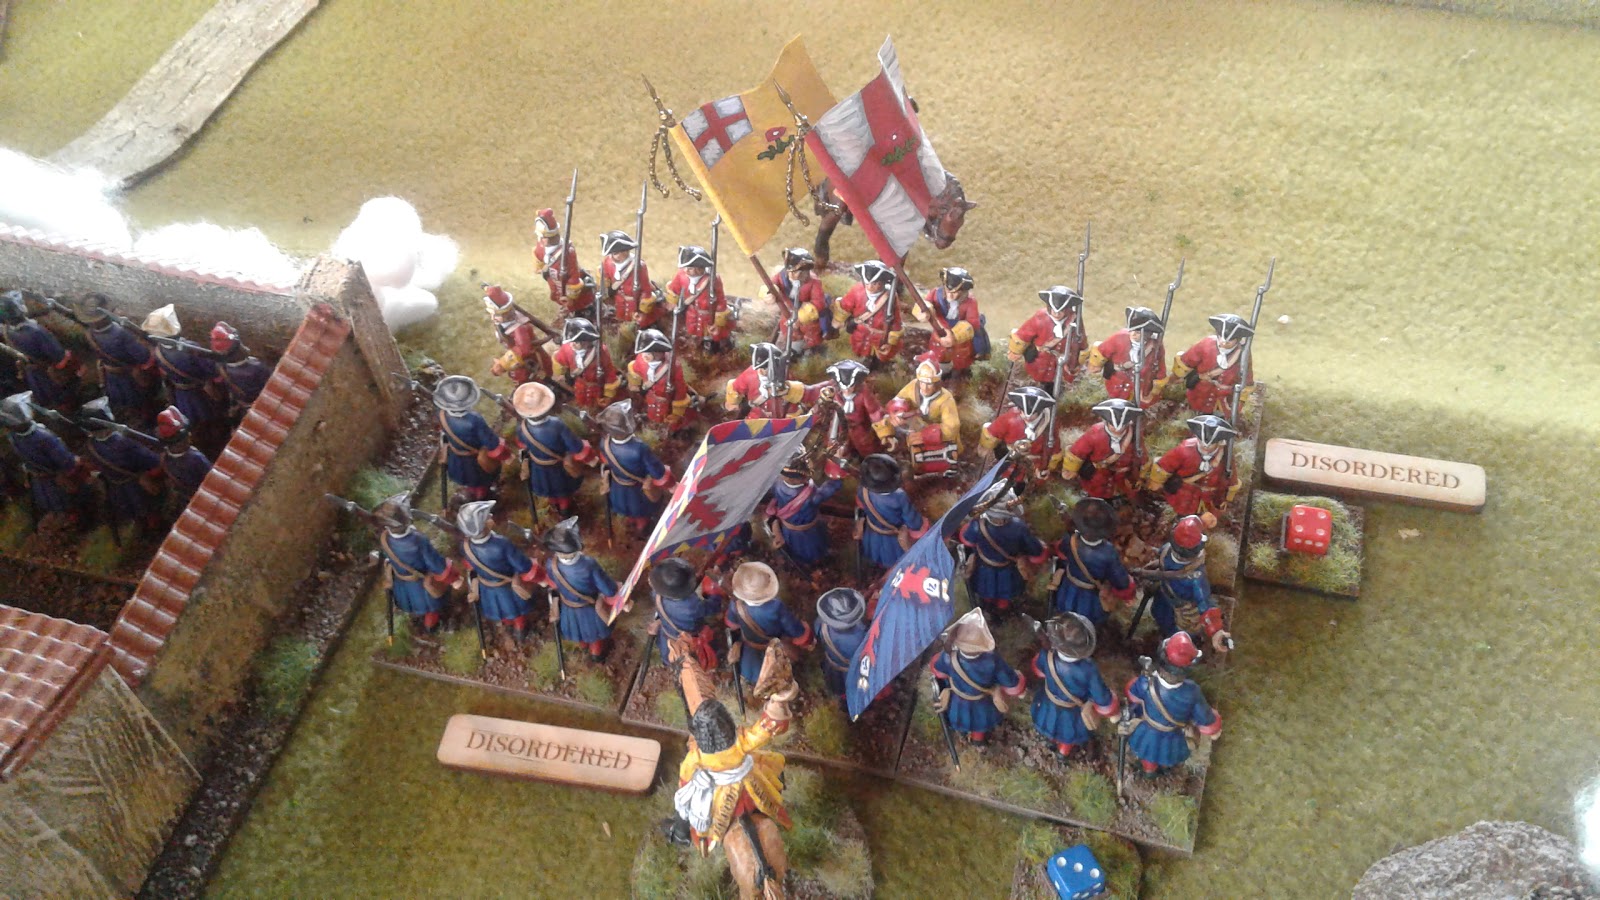
In this final photo the Old Blues defend a farm against the St Amant regiment. The house is a new farm building that I built this week.
This week I plan to start construction on a few more Spanish buildings so that I can put together a full town for some urban combat.

Nate

Tuesday, 12 May 2020

The Spanish make a flank attack Part 1

With something approaching normality on the horizon whereby I return to work next week, I thought I would try and sneak in a small game before hand. Deciding that I wanted to try out the changes that I'd made to the Featherstone-Style Marlburian rules, I picked a scenario from Neil Thomas' One Hour Wargames book at random. It turned out the result was Flank Attack (1). I'd already set out a table by using Millsy's terrain cards, and it so happened that the terrain fit perfectly with this scenario.

The background is that the Spanish have managed to outflank the Confederate position, forcing a withdrawal on lines of communication. Most of the army has escaped, but the last brigade under General Garigliano has had it's movement blocked by a Spanish force under General Tortellini. At the same time, the rest of the Spanish force under General Mohito-Borracho is moving towards Tortellini's position and arriving on the flank of the Confederate column.

The action begins at this point:
The Confederate column under Garigliano and his Dutch subordinate Van Driver.
The Spanish moved on from the right, the O'Mahoney dragoons with orders to move around the flank and take the Confederate lie in the rear. However, the Austrian artillery was able to unlimber and poor two shots into the dragoons to deter them.
Van Driver ordered the Jorger Dragoons to charge the Spanish horse and hold them up while the infantry got into position to assault the farm held by Tortellini and the 'Old Blues'.

Here the O'Mahoney Dragoons turn away from the cannon fire at the bottom right of the picture. Right centre the results of the first charge by the Jorger Dragoons can be seen. In the distance on the left the Starhemberg regiment and St Amant regiment prepare to attack Tortellini's position.

Having performed their role the Jorger Dragoons pull back into the Confederate line. The O' Mahoney dragoons can be seen moving into reserve behind the Spanish flanking attack. Starhemberg has moved within musketry range of the Spanish artillery - is this a firefight his men can win?
The victory conditions are to get at least 3 units off the table, so taking the farm and removing the artillery is essential. Can the desperate Germans and Dutch do it? Or will the Spanish score a resounding victory? Stay tuned.

Nate

Sunday, 12 April 2020

Battle of Ochoverde

What an epic this morning's battle became. It proved a real test of the Feathertone-Style Marlburian rules, and as such I've made a few alterations to them, some of which are clarifications, others a response to those moments where I thought - 'that's not right'. As a result, being hit in the flank is even nastier and will make sure that all sides think very carefully before dangling their edges in the air.

So without much further ado - the battle report!
The second turn saw the French Brigade advance towards the Austrians. Both the Austrians and the British had moved forwards into the wheat fields.

The first exchange of fire, and the Starhemberg regiment takes the lumps!

The Austrians try to give back, but without success.

The French cavalry advances, while the Spanish Dragoons move to a position where they can charge the advancing British, should they become disordered.

Rivers'Regiment engages the Toledo regiment on the hill - on the right the Starhemberg regiment has fallen back a little, out of short range.

On the right the petite guerre will rage all day - with no result.

The British are determined to take the farm.

While the French and Austrians continue to exchange volleys.

Rivers' Regiment charges!

And is forced back. 
The battle-line in the centre


The French are winning the firefight.

Undaunted, Rivers' Regiment attacks again. As do the English Guards.

Only to be repulsed - again!

Now that they are disordered the O'Mahoney dragoons strike the English Guards and push them back.

And again Rivers' boys try to break the Toledo regiment.

After considerable time facing off against each other, the cavalry charges!


The result is a mixed bag for both sides. 

The Auvergne regiment charge Starhemberg's regiment, only to be repulsed and - horror - the general is killed in the melee.

This will be the last throw of the dice for Rivers' Regiment - but the hill remains elusive.

The Bouville Dragoons charge Jorger's regiment.

Although barely dented, the Austrian dragoons flee off the battlefield. 

The Auvergne regiment finally pushes back the Starhembergs.

A view from the victorious French lines

But the Orleans regiment can't break the Osnabrucks in the wheatfield.

The Osuna Dragoons make a final attempt to push off the English Guards, only to be rendered hors de combat.

This view of the battlefield shows the depth of reserves on both sides.

But in the cavalry battle things have taken a turn for the worse. The Bouville Dragoons have gone on to wipe out the English gun, while the Pelleport cavalry have seen off Killigrew's Dragoons and are preparing to face the last of the Confederate cavalry, the Zinzendorf regiment.

A view of the centre shows the danger that the Bouville dragoons are causing as they sweep around the rear of the Confederate army.

Orleans charge again

And the Osnabruck regiment melts away.

A final charge by the guards sees them repulsed from the farm, and the Dutch general that was with them is cut down!

The Bouville Dragoons wipe out the Austrian gun.

The Zinzendorf Dragoons are forced back again, and the flanks of the Confederate infantry are exposed.

With no generals in the centre, the Confederate attack is stalled beyond saving.

The surviving Confederate generals confer and agree - time to retreat!
At one stage it looked as if the Allies might carry the centre quickly, but when the British troops were repulsed, they never really got back into it. The Confederate cavalry failed spectacularly, and was a massive contributing factor to their defeat. The heroes of the day for the Allies had to be the Auvergne, Orleans and Toledo regiments, which bore the brunt of the fighting. On the Confederate side one can't go past the way that Rivers' regiment time and again threw itself against the Allied line. Dud of the day were the Jorger Dragoons. Time to replace the colonel there I think!

As to the battle's name, I went to a random Spanish word generator and put two words together. Why is this crossroads called 'Eight green'? Something to do with the Visigoths I expect...

Nate