Sunday 18 September 2016

Blundering through Bohemia

Today I glued some Prussian Musketeers to their bases and thought I'd break out the whole 7 Years War collection for a game.
I rolled a d6 and a d10 and consulted One Hour Wargames for a scenario. I rolled up scenario 5, secure the bridgehead. I then rolled on the table to discover the composition of the forces. Blue - Prussia - got 3 infantry, 2 artillery and a cavalry unit. Austria - red - got 4 infantry, 1 skirmisher and an artillery. I then doubled the result for the infantry and the cavalry, and set up the table for a solo game.
The set-up has a single unit (doubled to 2 in my case) protecting the bridge of a river crossing. There is a wood to their left and a hill to their front-right. (hard to see in the bird's eye view)
In turn one the first Austrian units arrive in a random location. Both happened to appear behind the wood.
In march column they begin to head for the bridgehead.
The first Prussian reserves arrive - an artillery battery. I still have to buy some limbers.
Turn 3 and Austrian infantry arrive on the road opposite the bridge. The first Prussian infantry reinforcements arrive as well.
Turn 4 and the Austrian light troops make their way to the woods. The Austrian infantry begin to move into position.
Turn 5 the Prussian gun gets into action, and first blood goes to Alte Fritz's boys.
Reinforcements are all on the board by turn 6, and the Prussians pour across the bridge. The two Musketeer regiments engage the light troops threatening the Prussian left flank. Out of picture on the right the last Austrians start their slow advance to join the action.
Heavily outnumbered the Prussian combined grenadiers in the centre hold their ground.
The Prussian cavalry forms up, the Dragoons on the right flank, the Garde du Korps Cuirassiers in the centre. The Prussian combined grenadiers manage one last defiant volley - they have done their job! On the right the artillery and Garde Grenadiers open up to devastating effect on the Austrians.
With the Grenadiers gone the Prussian fusiliers are left in no-man's land. The Garde du Korps smash into the Austrian grenadiers and drive them back, then retire. The 18th Regiment charges into the Grenzers on the left.
Isolated well to the front of the main Prussian lines, the 47 Rohr regiment chooses to attack rather than withdraw!
On the left the Austrian grenzers defend stoutly.
On the right the Austrians get themselves into position to release some volleys.
The Dragoons move around to prepare for a charge.
All Prussian troops are now engaged. The edge of the woods has been cleared of one Grenzer regiment, but another awaits.
It only just manages to deploy and release a blast of grape, but it is too late, and the Austrian artillery is destroyed by the Rohr regiment. It happened to be just 6cm away form support - one cm too far for it to count!
On the right the Dragoons are pushed back, but the Prussian firepower continues to whittle away the Austrian attack.
The Garde du Korps charge again and the Austrian grenadiers are destroyed. The Batthyanyi Regiment has turned to face the Rohr regiment nad now has it's flank open.
The Grenzers are chased back, while the Austrian Starhemberg regiment attempts to break through the Prussian Musketeer Regiment 10 Pannewitz.
On the right volleys continue to be exchanged.
Last turn and the Starhemberg regiment breaks the Prussian 10th. But the Austrians are now spent.
As the battle ends Austrian victory remains elusive.
The 7 Years War armies are mostly Old Glory 15s, and were given to me by Geoff a few months ago. I've spent some time here and there rebasing them to fit my organisations. They were pretty much all painted - I am responsible for the light troops, a few of the cavalry and the 2 Prussian musketeer regiments that are a combination of Old Glory figures and Lancashire that I bought to make up the numbers. I have to say that I love this period for wargaming, probably more than any other horse and musket era, and it is fantastic to see the troops arrayed n the table.
The rules are adapted Neil Thomas Introduction to Wargaming rules, and have a few holes in them, which I've set about rectifying this afternoon. Mostly around morale and support, as the Ausrians really got no benefit from being very well deployed for support on their right flank. I'm also not sure about the 'super-fusiliers' that managed to be isolated and still fight like demons. Despite this, the rules gave a really pleasing outcome, and an enjoyable game. I'll complete the basing of the Prussians tonight and I look forward to another similar scenario soon.

Nate

Saturday 3 September 2016

Time to sit back, have a beer, and invade England.

Or more accurately, Wessex.
It being the end of the week I felt another solo DBA game was in order, and this time I rolled out the Anglo-Saxons and Vikings, the vast majority of which landed on my doorstep as a fantastic gift from young Geoff down in Christchurch.

The dice off for aggression was initially even, but a reroll confirmed that the Vikings would be attacking, so the terrain set-up was arable. I decided the Anglo-Saxons would take a hamlet, a woods, a road and river - as I have not yet used rivers in DBA 3.0 and wanted to test them out. As this is a solo game, all terrain is randomised, and it turned out that the wood ended up in the same quarter as my BUA, which meant it didn't fit and had to be discarded.

I was looking forward to this match-up, because with the +1 flank bonus for spear supported by either spear or blades, it made the Anglo-Saxon line an even match to the Viking Blades. They just had to hold that line.

The Vikings deployed along the river in columns, just in case I rolled a 5 or 6 for the nature of the river, and planned to cross it quickly and get to grips with the enemy. The Anglo-Saxons deployed in a solid line with a couple of spear and two hordes in reserve.

Initial deployment with the Vikings in column.
It turned out that the river was paltry, and the Vikings surged ahead - those on the road getting a free turn which enabled them to deploy immediately.

The Saxons advanced and dispatched their spear reserves to extend their line prior to contact. The Vikings also moved into a solid line. This was shaping up to be a hard fought slog.

The Viking skirmishers moved to prevent the Saxon right-hand spear from joining the line, and surprisingly also forced a recoil on them.

The battlelines crashed into each other, and an Anglo-Saxon spear element was destroyed in the first round of combat.

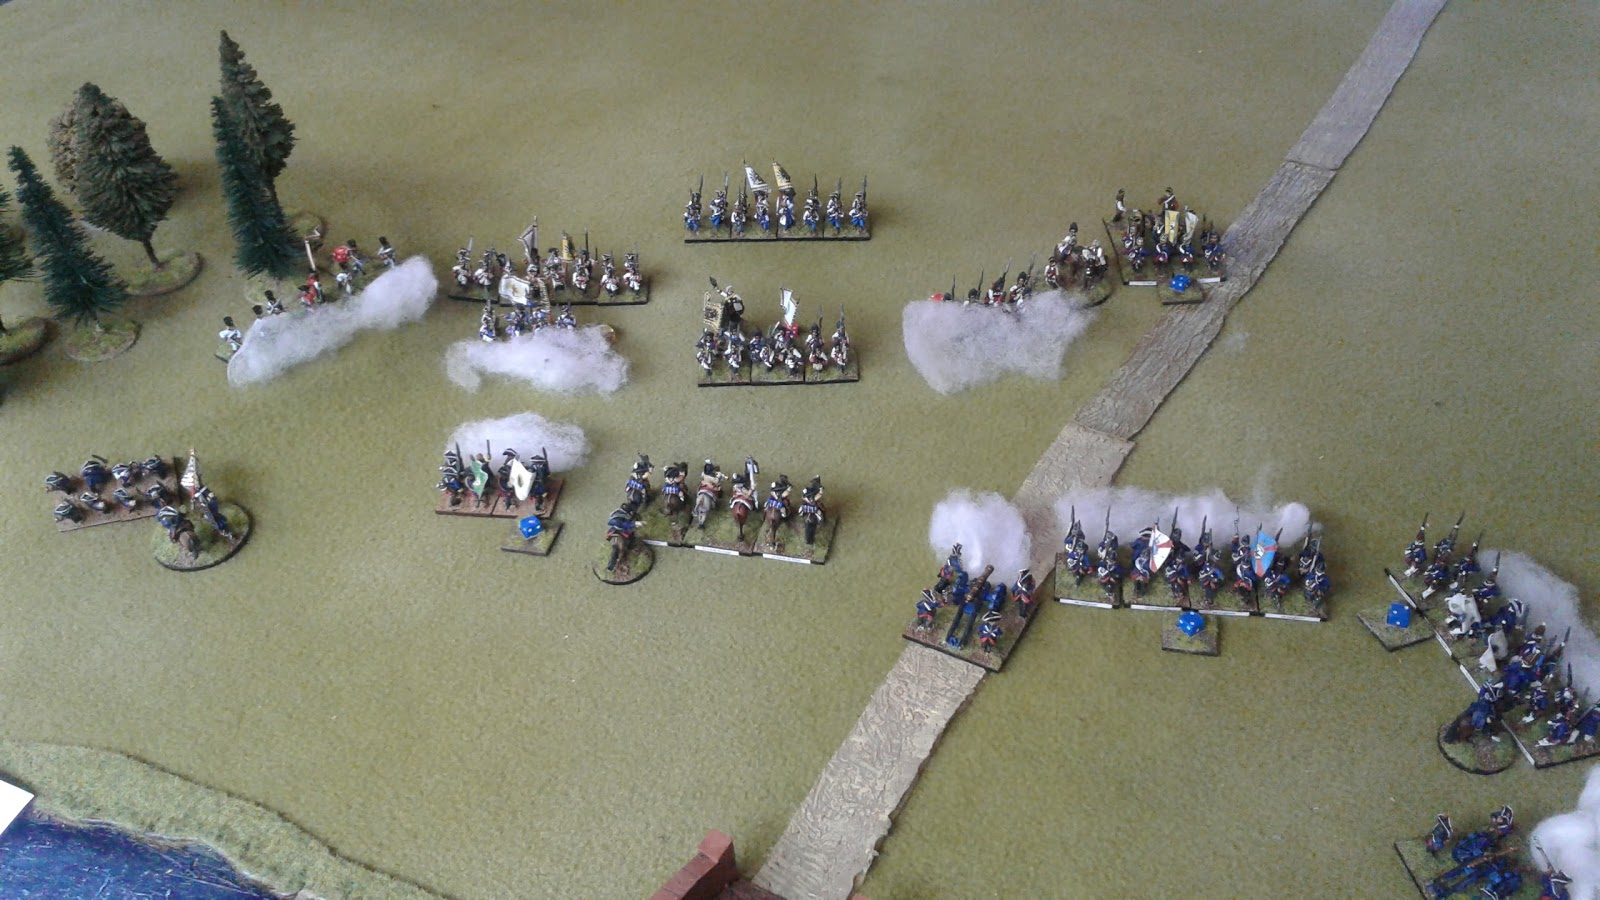
Now the battle ebbed to and fro, all order disintegrating on the Anglo-Saxon left (to the right in this picture)

The Vikings lapped around the Anglo-Saxon flank and another element of blades was destroyed. The Anglo-Saxon and Viking generals continued to slog it out in the centre.

The Vikings also began to press forward on their left.

A horde was detached to mount a last minute delaying action on the Anglo-Saxon left.

The Vikings now managed to wrap around the Anglo-Saxon right flank and killed their fourth Anglo-Saxon element.

In the centre the Anglo-Saxon general realises he must retreat now or never.
 This was a good game, and enabled me to get used to some of the new aspects of DBA 3.0 compared to what I was used to in 2.2. The most important one was the pursuit by blade elements. This effectively means that once you have committed a blade element to battle against an infantry opponent it will remain committed until it is either victorious or destroyed. I'd sort of noticed this with the Polybian Romans, but as I've only taken 4 blade elements in that list, and they were faced with more cavalry, it had not really sunk in for me. In this case, with two all-infantry forces and a Viking army which is virtually all blade, the lesson was clear.
I was also pleased with the shape of the battle, which ended up being a Dark Ages version of Cannae. The Viking plan to distract the right of the Anglo-Saxon line with the psiloi was a good one.
I'm a bit gutted that the hordes didn't get into the fight - I've never used hordes before. I might put them in the front-line next time.
Way back in issue 2 (I think it was) of Battlegames, Dan Mersey wrote an article which was a campaign system for invading Scotland in a day. I think I might play it out with a Viking theme and see how it goes.

And now, just some pictures of the camp elements, which I received for my birthday last month:
Viking Longboat settled on a very long and very narrow inlet... 
Saxon camp with drunken priest
The Anglo-Saxon hamlet which counts only as rough going. Buildings are from the Usborne 'Make this Medieval Village' book.
Alongside the camps I have started getting into my painting for Craig, which has been delayed while I went through a painting slump. I'm halfway through some Battlefront Germans which I hope to have finished by next week. Then it is prelim exams, so once again my attention will be caught by real life. I do hope to have a few more posts in September than I did last month though!

Nate