Saturday 30 November 2019

Defence in Depth

It may be a while before I get another game in, so I decided to roll up a scenario from Neil Thomas' One Hour Wargames book. The result was number 23, Defence in Depth, which has an outnumbered force trying to delay a larger attacking group. The set up has several woods, and the attacker is not supposed to have local knowledge, so cannot enter them. This was great for the defenders, as they were able to put a speed bump...er... I mean militia unit in the woods who would have to be shot out, rather than expelled through melee.

Militia in the woods face the might of the Confederate army.

Looking from the Bourbon right, there is one gun and one dragoon regiment to guard the fords.
 Two of the defending units had to be militia grade, so that was easy enough for the skirmishers, who are militia, and then it was decided that the cavalry would also be militia status.
The Viejos Murados hold the built up area (BUA).
 The other two units rolled up were an infantry unit and an artillery piece. The infantry were placed in the built up area, the artillery to cover the centre of the table.
The militia take cover behind their favourite trees, prepared to delay the advancing enemy.
 The attackers had to get 3 units off the enemy table edge.
In the first turns the Confederates sent two units towards the far ford as the central ford was covered by the firefight at the woods.

The Dutch St Amant regiment moved up to the bridge while the Allied artillery bombarded the BUA

The Miquelets were feeling brave as they crossed the ford to cover the Starhemberg regiment. Unfortunately their fire was ineffective.

Part of the solo scenario on this was that no unit was allowed to cross the central ford until the militia unit had been neutralised. This led to a prolonged firefight between the Osnabruck Regiment and Rivers' Regiment on one side, and the brave militia on the other.

The St Amant regiment cross the bridge. They would charge the BUA in the next turn.

Repulsed! The St Amant Regiment is sent backwards by the Old Purples!

The Miquelets are regretting their last ineffective volley - the Mahoney Dragoons rout them!

At the same time the militia finally breaks. There's only so much a bunch of farmers with guns can take!

St Amant charge the Old Purples and roll a perfect 100 on the percentage dice. The Spanish unit is pushed out of the BUA.

Now the central column crosses the river to make its way off the table.

But at the same time the militia dragoons do it again. Starhemberg's boys are sent packing!

With no enemy to its front the Spanish artillery is wheeled to deliver enfilade fire into the flanks of the Confederate infantry.

Disaster -the general is killed! He had a telescope and still didn't see the roundshot coming!

The Spanish general rallies and turns his dragoons. Can he get them into the action in time to prevent the breakthrough?

The artillery continues to do damage to the marching Austrians.

While the St Amant and Viejos Murados continue their murderous duel.
 Several moves later and the Austrians and British have left the table. For victory only one more Confederate unit needs to get through - the St Amant regiment opposed by the Spanish infantry.
Two last crashing volleys and there is no more opposition!

They take a shot in the flank from the artillery - one more hit and they are routed, meaning a Spanish victory.

But they are now shielded by the woods, and the dragoons are too far away.

The Dutch leave the table and it is a near run Confederate victory.
A great game. Man of the match went to the Militia unit, that stod like a Stonewall for ages in their woods. The Dragoons were a close second.
I used my Featherstone-style Marlburian rules for this one, which rely heavily on percentage dice, and they worked really well. Simple to use and fun to play. I have a couple of amendments to make to the firing table, which I started playing mid game, and they worked much better. Otherwise, things went very smoothly. I'll give them their own rules page on the blog when I've amended them.

Nate

Sunday 17 November 2019

The Sun King Attacks

Also published on the NDC handbook blog

In this exciting issue:

The Sun King has been hired by the Proud Pound Pups gang to take out an informant. The only problem for the villain is that he has the time and place of where the informant will be, but the chapter of the PPP he is liaising with have been taken out by Captain Kiwi and Samurai Mouse. As a result, the Sun King has no idea who his target is. So in his typically methodical way, he and his court are to kill everybody in the area!
Captain Kiwi and Samurai Mouse, getting this info from their recent raid, are heading for the scene!

The intersection where the informant will be.

The Sun King and his Courtiers stride down the middle of the street, guns ready!

Captain Kiwi and Samurai Mouse appear from the other en of the street.

Before killing the civilians, the Courtiers must move into base to base contact and say 'This is from the PPP, nark!'. The first civilian goes down.

On the other side o the street another one bites the dust!

And so does the first victim's lovely companion! 'Captain Kiwi - Help!'

Charging across the street, CK clobbers a Courtier and sends him reeling backwards.

The SUn King himself comes forward to blast Captain Kiwi with his Solar gauntlets!

CK avoids the beams damage and counter -charges, knocking the Sun King back!

With 3 on 1 Captain Kiwi is outnumbered, but shrugs off a few bullets and knocks out a Courtier.

Followed by a second devastating attack on the Sun King himself! The arch-villain is down!

Meanwhile, Samurai Mouse is also in the action. He fronts up to a Courtier in the middle of the intersection. In the background another civilian is shot down...

CK deals with the last Courtier in his vicinity, then rushes to the aid of a civilian.

This time, the civvie had been tustling with the Courtier, an it was easy for Captain Kiwi to take the crim down!

Samurai Mouse deals to the Courtier

The charges through and takes down the last of the Sun King's retinue
At the end of the game I rolled for the Sun King, who managed to revive and escape while his opponents were otherwise distracted. There were 10 civilians on the board at the start of the game, and four had been killed. I rolled a D10. On a 1-4 the informant was one of the victims. On a 5+ they had survived. I rolled a 1. The informant had been the first guy assassinated. So victory in this game went to the baddies, despite all of them having their butts handed to them.

Captain Kiwi with his nanite regeneration bots gets 3 red dice in defence, so every time he was hit he shrugged it off. It makes him damn hard to take down. He also got a lot of reactivation face cards, which enabled him to be suitably heroic. He got some lucky breaks, but I need to run him in another game to work out if he is just too resilient. All of the Courtiers are Level 2 characters in Clobberin' Time. I find that henchmen need this or they last about 10 seconds in the game.

Saturday 9 November 2019

Hoogh's Farm

In memory of the late Stuart Asquith I decided to bring out the toy soldiers for a replay of the 'Hook's Farm' scenario from HG Wells' book Little Wars. This was a scenario that Stuart apparently played many times, and in accordance with his love of simple rules and 54mm glossy toys, I set it up for a Great War game.
The assault on Hoogh's Farm.
Unfortunately I only have two units a side painted, so there is one unpainted British unit in this game. I also played with the set-up a little. A German HMG was hunkered down in Hoogh's Farm, while to the east a small force of 5 Germans held Faerphlaae Church. Two German units of 8 figures each were placed on the table edge to help counterattack against the British assault.
The British force consisted of 3 units, each of 10 infantry.
The battlefield. Hoogh's farm to the left, Faerphlaae Church to the right. Notice I'm using what kid's blocks I could find for the ruined buildings.
Each turn a British shell would fall on a unit to represent creeping barrage.

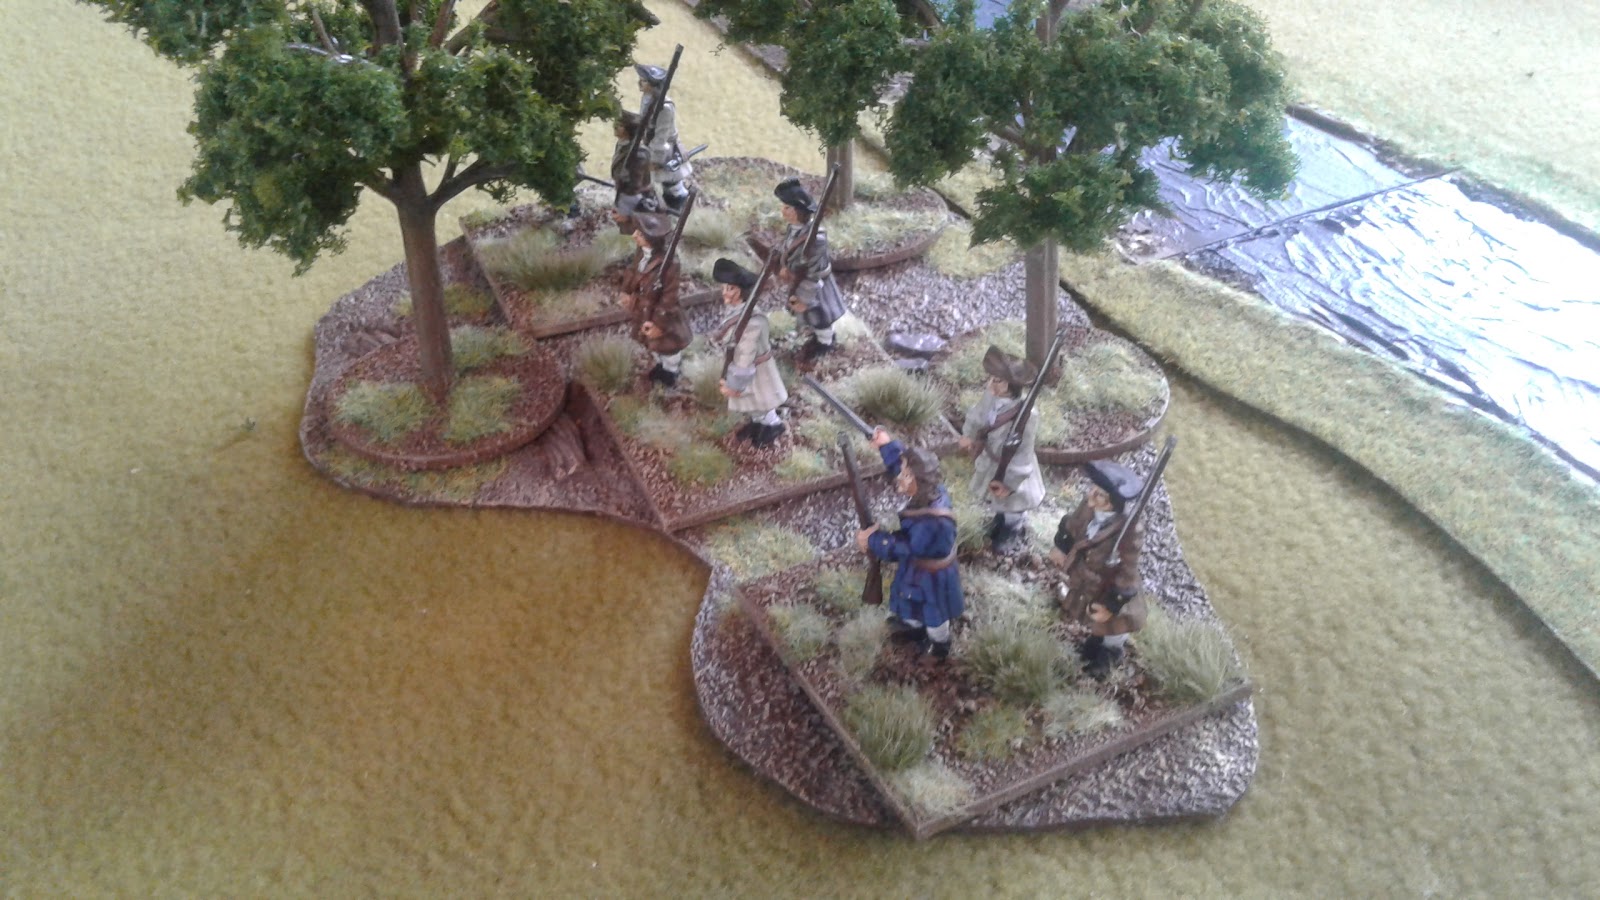
Faerphlaae Church seen from the British trencehs.
The German garrison awaits the attack.

The British started by getting out of their trenches and advancing. Immediately they came under fire from the garrisons in the buildings.
The British on the left leave their trenches.
The maxim gun opens up
Casualties are suffered - but morale stays strong!
The exact same story on the right.
The Germans had begun to move up for the counterattack as well.
Using move and fire, the Tommies advance. Luckily the German counterattack is pinned by the barrage.
Around Hoogh's Farm the Germans are moving up
Surging forward the British infantry take a toll of the Germans, but they are unable to assault the Church.
The German HMG is pinned and the middle unit starts hitting the counterattacking German infantry in the flank.
Carnage around the Church - The German counterattackers are pinned, but the Brits stay strong.
The German HMG is unable to rally and is knocked out in the next turn.
The Faerphlaae Church garrison have defeated the attack, but at huge cost.
Only 3 men are left standing, and they are pinned - unable to move or fire.
Leaving the centre force free to flank the Germans around the farm and wipe them out.
The battle ends with the triumphant occupation of Hoogh's Farm. 
The simple one page of rules I have stood up extremely well - except for one problem. I hadn't thought about how to deal with the HMG. The morale rules as written don't really work, and to have it wiped out by 2 hits would make it of very limited value indeed. So I devised rules for crewed weapons. Not just HMGs but mortas and field guns for when (if) I get them. Essentially no matter how many times an crewed weapon is hit in a turn, it will only ever count one hit and become pinned. All crewed weapons rally on a 3+ on a d6, which means that they are 66% likely to get back to business in the next turn. A second pin means the weapon and the crew are destroyed.

The whole game took an hour. Short, sweet and fun. With more luck the Germans could have done better, but even so they retained one objective while losing the other, so it was a draw. This bodes well for these rules, which, I must say, are extremely simple. I think they capture the flavour of the Great War well though - the high body count would certainly attest to that.

Nate