Forces were:
British 7 RTR
HQ - 2 x Churchill
1st pln - 3 x Churchill
2nd platoon - 3 x Churchill
3rd platoon - M10 Tank Destroyers
4th platoon - rifle platoon
5th platoon - rifle platoon
6th platoon - 3 x carriers
6th platoon - 4 x 25 pdrs with AOP
Limited Air Support - Typhoons
German Das Reich
HQ - Panther A
1st pln - 3 x Panther A
2nd pln - 3 x Pz IV
3rd pln - 2 x SdKfz 7/2
4th pln - 3 x Panzerwerfer
5th pln - full strength Fallshirmjager platoon
The mission rolled up was a Cauldron with the Germans as the attackers.
(John had to use his Early Brit infantry and guns as his late war infantry are still under the brush and painted figures are so much prettier.)
 |
| The table. Lighter bocage country this time - Hallelujah! The random deployment had the Panther platoon at bottom right and the AA at bottom left with the HQ deployed alongside them. John chose to deploy 3 x Churchills and his infantry and 25pdrs on the objectives. |
 |
| Skulking behind the bocage - the HQ and the AA. |
 |
| John's infantry and guns hold the objectives behind the town. |
 |
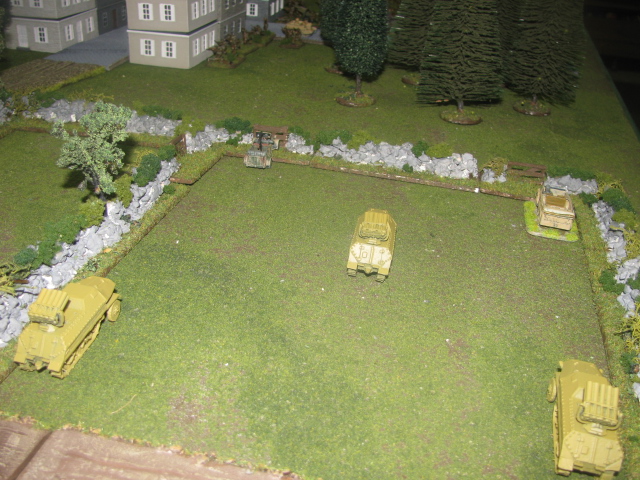
| Panthers know that the allies have some major firepower, so spread out. |
 |
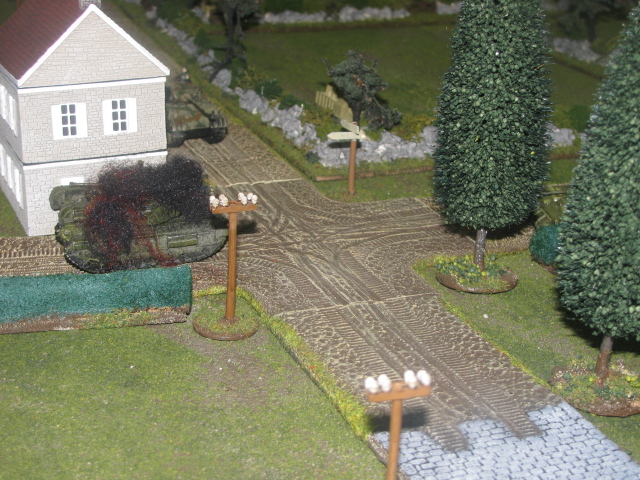
| First turn and the Churchills advance towards the enemy, but predictably their weapons just scratch the paint work on the Germans. |
 |
| Sensing an easy kill a Panther storms over a (non-bocage) hedge... wait, I said storms over. What do you mean he bogs down?!!! |
 |
| The HQ Panther crosses the bocage to go Churchill hunting while the AA also bogs down. Good work - I thought you guys were meant to be veterans?! |
 |
| Turn 2 - the HQ unit scores the first kill of the game. Side shot on a concealed target - Ka Boom. The Germans are feeling pretty confident now. |
 |
| Turn 3. Still stuck on this hedge... Oh look - a pretty plane... Oh sh**! |
 |
| Turn 4. Thank goodness the Pz IV reserves have arrived. The Panther HQ has also made sure that there are no nasty tanks in the way either. |
 |
| The reinforcements close in on the objective - only a Sherman observer tank and a few 25pdrs in the way really. |
 |
| Turn 4. Panzerwerfers arrive. |
 |
| Turn 5. Brit reinforcements arrive in numbers. First up - a rifle platoon. |
 |
| Then a Churchill platoon and the M10s and... the HQ? (Um... John he should have been deployed with the first lot of troops). Now it is a race - can they move far enough forward to contest the objective before the start of Turn 6? Can the Brit artillery hold on? |
 |
| Never mind. A combination of assaults, Machine guns and a good side shot on the Sherman have cleared the objective for the Germans. |
 |
| Close up of the newly arrived Fallshirmjager in Turn 5. I had to take this picture to prove that I've finished painting them! |
 |
| The Panzerwerfers get into action and knock out the last of the 25 pounders. |
 |
| Turn 6. Churchills need to take out the Pz IVs - M10s need to kill the Panther. Then it will be game won at the start of Turn 7! |
 |
| The Brit M10s manage to bail the HQ Panther. But the Churchills can't take out the Pz IVs from over 40cm and concealed (need 6s to hit). German Turn 6 begins and an objective securely held. German victory! |
The British lost 3 platoons, the Germans one. A 5-2 victory to the Reich.
A very impressive looking game!
ReplyDeleteGogo Das Reich!
ReplyDeleteGood win for the Wehrmacht. Cauldron can be a tough mission!
ReplyDeleteVery nice report, the battlefield is great...
ReplyDeleteVery cool game, really good looking figures and scenery Nate - nice one!
ReplyDelete