Saturday, 8 September 2018

Athenians

Painting has not been easy this past month - work has soaked up a good amount of hobby time, so I was pleased to get a DBA army finished this week. Army I/52d Later Athenians in the Early Greek Hoplite list. My Spartans needed some opposition, and who better than the sons of Attica? I just need to paint up one more psiloi element for the Spartans and a Light Horse for the Athenians and these guys will be able to morph into Bk II/5a and b, albeit the Spartans will look a bit anachronistic without their pilos helmets.

Athenian army gathered for battle
Close up of the cavalry and psiloi.
They had their first outing last night against the Spartans, and have hence recorded their first loss 4-2. It was a rainy day and the ploughed fields were rough going, which led to some interesting moments. Their general may have learned a few lessons though. The Spartan shield wall is a real pig to pull apart, but the Athenians almost managed it! The cavalry was sacrificed needlessly and the Psiloi were on the wrong end of a 6-1 roll which essentially turned the game. I'm still at a loss as to what to do with the Spartan horde element. It usually just sits back and looks after the camp.
In my next battle I'm planning on using this Time of Day display that Stevie whipped up. I printed out the images and glued them to a cut down desk calendar. It means that there are a limited amount of turns within a game to achieve victory for an invading force. I'm thinking about playing it alongside the quick linear campaign that has been outlined here.

In other news I finished Craig's Star Wars Legion stuff.


I think they came out pretty well - certainly look war-torn.

Some DBA battle reports soon I hope.

Nate

Sunday, 5 August 2018

An old friend

Friday night was games night, and for something different we thought we'd pull out a game of Warhammer Ancient Battles. John purchased these Age of Arthur armies off me some time ago, and they have since languished in his cabinet, but for a very good reason (more on that below), I felt like a game of WAB. So Arthur would ride again!
The two armies line up opposite each other, Mordred at the top of the picture, Arthur below.
 I didn't have much time to prepare for the battle and forgot that each unit had a character with it to give it a little more staying power, but as it turned out, we still had a fairly good game. I umpired while Mordred Mike and Arthurian Adam rolled the dice.
The two sides draw closer. Arthur's Teulu just out of picture on the right prepare to steamroll their opposition and outflank Mordred's forces.

The Combrogi see off the mercenary German mounted geoguth on the left, while Arthur's knights round the building, all in accordance with the plan.

Mordred Mike wasn't about to be beaten that easily though. he turned his left flank to meet the Arthurian cavalry and pinned the Arthurian infantry.

Here you see two units of Combrogi decide that they don't want to fight anymore, while Mordred's infantry prove a rather stubborn roadblock for Arthur's cavalry.

One unit of Combrogi rally in the centre, but by now the crux of the battle is on the right where the Arthurian cavalry has been forced to retire behind their infantry.

The last turn sees Mordred defeat and then run down the opposing infantry. Arthur and the last unit of  Combrogi fail their panic tests and the army routs.
 I had forgotten how much fun WAB is. Although I probably won't play it again. More on that soon.

Arquebusiers von Geradefurt
 I've been painting a few figures for my Dragon Rampant Fantasy project. I've also created the campaign background for the battles.
Die Schwarzenritter von Tarnach
 The plan is to paint these guys very simply. Base coats and washes with minimal highlighting. The idea is to get them on the table for battle. Later on I can come back and touch them up a bit if I like.
Close up with Goltz von Tarnach himself

Every base has a hit marker dice.

The only element of Orcs so far painted. This element fits 3 Orcs, but takes 6 hits. This works fine in Dragon Rampant.
 I want to paint a few more Orcs - some Boar riders and the other three chaps for the above unit before I delve back into finishing Craig's rebels.

Then I have these guys:
I love mail!
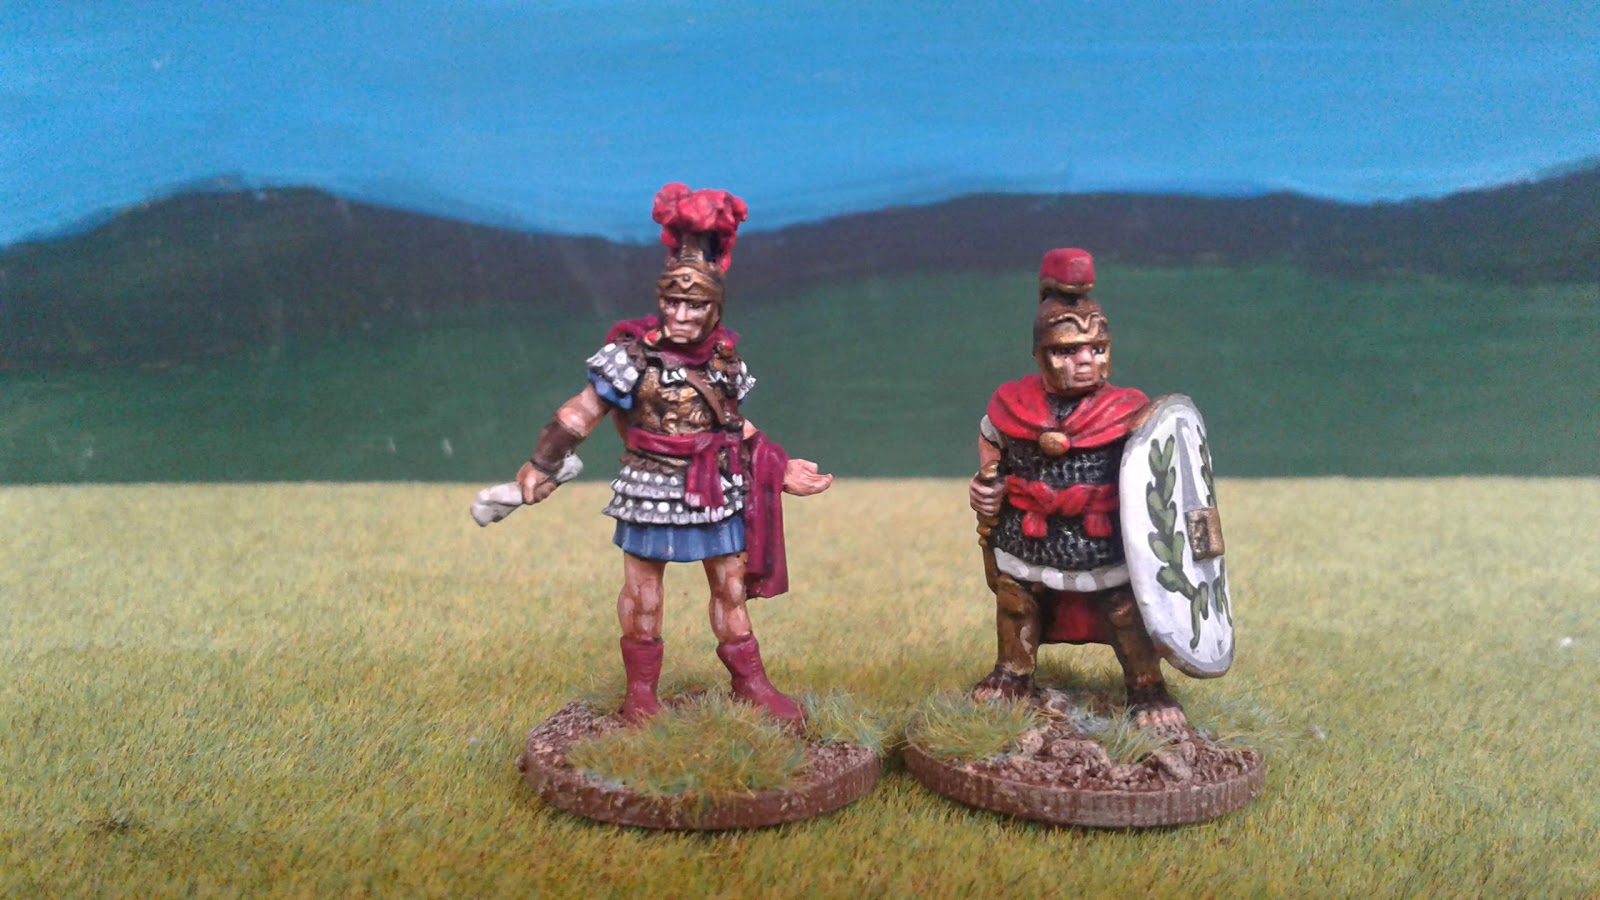
 This is the bulk of a Marian Roman army for Clash of Empires. Of the successors to Warhammer Ancient Battles, Clash of Empires is the one I've settled on. I had War and Conquest, but sold them a while back.
I've had the urge for a return to a WAB-style game for a while now, and with the plethora of nice plastics out there, it makes it easier to achieve than ever. So I decided that I would do the Roman Civil Wars between Pompey and Caesar. Then I thought again. That would be a lot of legionaries to paint, and two armies that fight in identical ways, which might get a bit boring. But what about my second favourite (after Hannibal) Ancient character - King Mithridates the Great? So using the Seleucid list for Clash of Empires I put together the plan for a 2500 point Pontic army. Now I just need to convince my wife that this would make an excellent birthday present...
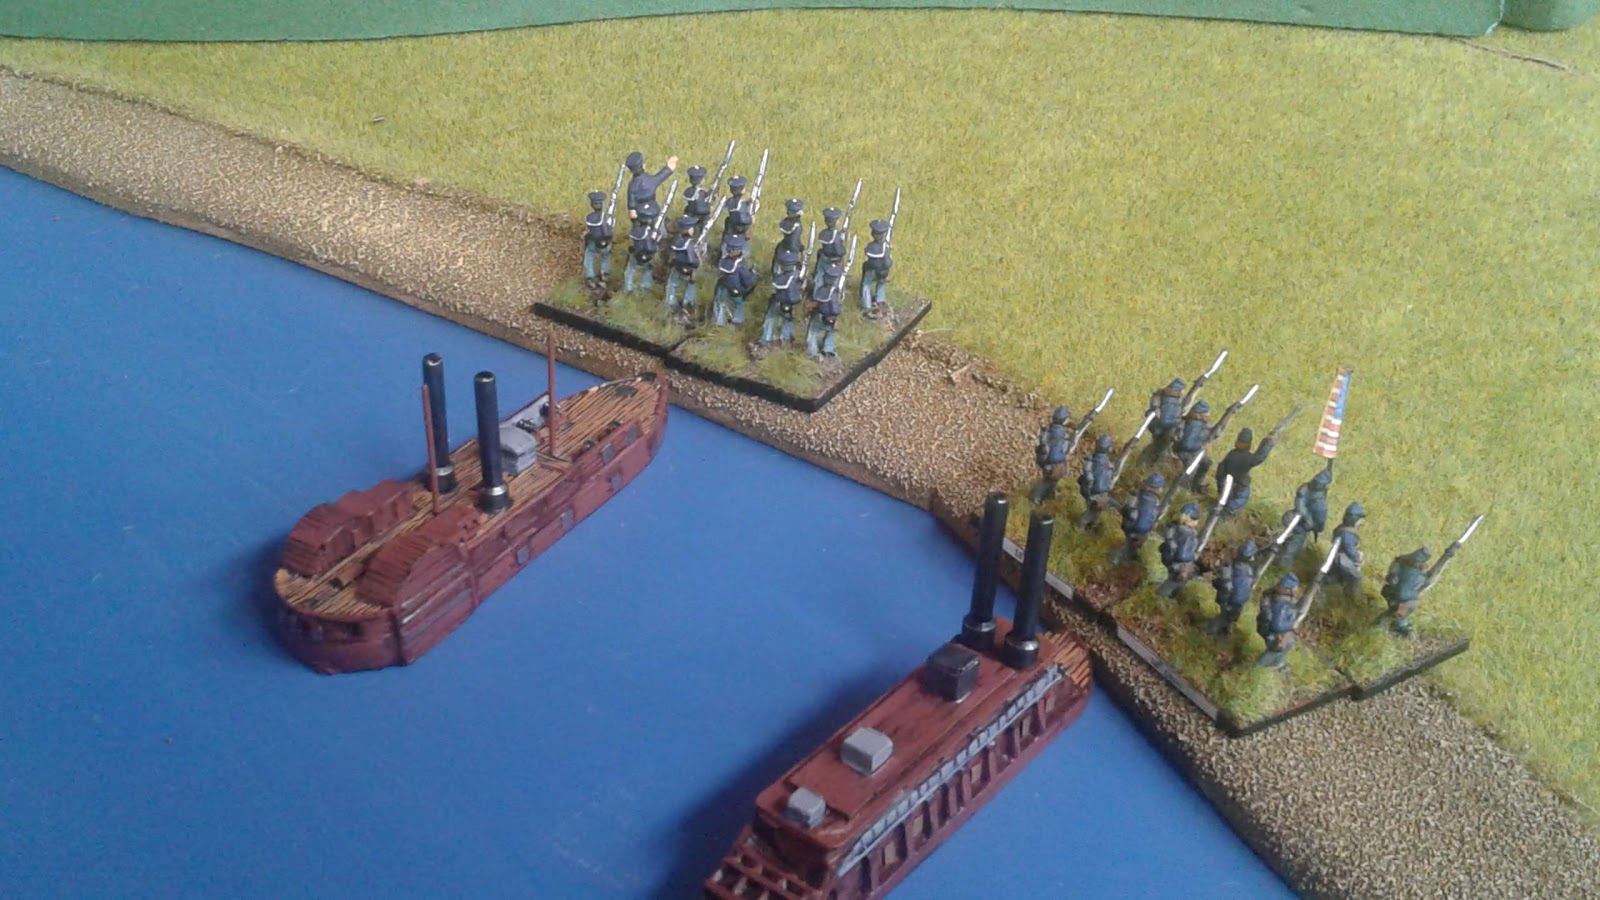
The Romans put together and sitting in the cabinet. They need a unit of Numidian skirmishers added and they will be 2500 points. I've already arranged the cabinet so that the Pontic army will sit alongside them on the right - Cretan archers are already in place (French and Indian War collection to the left, as well as a Roman elephant that was going to be for North Africa in the Civil War - now unemployed).
So, as always, plenty going on. Next update should feature a decent number of painted Rebels for Star Wars Legion.

Nate

Sunday, 22 July 2018

First Brigade advance into the Chickatachee Valley

The climax of the battle
 From the north there are three ways into the Chickatachee valley. The Western gap, the Central pike and the river itself as it loops through. The river is controlled by a battery on the bluffs overlooking Cedarsburg, and with the navy unable to proceed up the valley, it is currently not an option. So the Union commander decided to split his forces. First Brigade and the Cavalry Brigade would move down the Central pike while the Second and Third Brigades would attack through the Western gap.

The Central pike runs close to the Boone river, and there is a choke point at McPherson's Farm, where a stone bridge crosses the Boone and intersects the pike. This is where the Confederate defenders placed their pickets and set up the Texan Brigade within easy reach.
The pickets (left) spy the Union cavalry approaching.

Quickly riding back to McPherson's Farm they raise their comrades and send word to the Texan Brigade.

The Union cavalry approach warily.

The cavalry set themselves up behind the fences of the farm, while the Union troops find cover in a rocky area nearby.

A second unit of Union cavalry approaches.

The Texan Brigade is on its way. McPherson's Farm can be seen at the top of this picture.

The combined fire of the Union cavalry regiments drives off the Confederate defenders.

While the Texan Brigade begins to deploy.

The union first Brigade is also on its way.

The Union cavalry do their best to hold off the Texans, eagerly hoping that the First Brigade will get there to reinforce them in time.

The 1st Texas infantry charge uphill in to the cavalry in their hard cover.

Too late! the farm is recaptured by the Texans and the Union cavalry is sent skedaddling, along with the Indiana boys who were coming to act as the reinforcements!

The fight in the rocks is hard and bloody! But the Michigan boys are coming in for a flanking attack.

The lines take shape, with the Confederates in cover and the Union out in the open.

The Union line is weakening.

With 50% losses the First Brigade finally breaks.
With that the Union forces proved unable to force their way down the Central pike. How will the attack on the Western Gap fare? That will be the next battle.

In terms of painting, I've managed to get a bit more done:
Star Wars Legion Rebels for Craig

General Veers and the last of the Stormtroopers.

A couple of character figures for my Antony faction for Song of Broken Legions - Legate and Centurion.

With the other figures. I repainted their shields so they stand out from the Caesarians with their red shields and wings. Lucius Vorenus is in this group - Titus Pullo is with Octavian's mob.
 My other diversion has been sorting out a couple of fantasy armies using old Warhammer figures.  The intention is to use Dragon Rampant and mount the figures on multiple bases which will have built in strength markers. Orc boarboyz are on their way for another unit of heavy riders, and I'd like to get some ECW Cuirassiers for the human faction to round them out.
Human faction. The peasants at the front are 'Ravenous Hordes', the warjack at the back will be a greater warbeast.

Only 3 Orcs to a base, although the base will indicate 6 hit points. The bases at the front are for the Boar riders.
So plenty going on.

Nate

Saturday, 14 July 2018

The mouth of the Chickatachee River

I kicked off my ACW campaign game today with an amphibious assault on the mouth of the Chickatachee River. Fort Chiccanchee sits on a bluff overlooking and dominating the river on it's left bank. On the right bank a couple of redoubts have been built to house some artillery. Alongside the big guns, there is a battalion of Confenderate infantry on either bank.

The Union assault would be led by two Ironclads - the USS Humphrey and USS Hunter, to be followed up by two timberclads carrying the assault troops. The plan was to suppress Fort Chiccanchee before landing two battalions to take it by storm. Once the left bank was secure, the boats would concentrate on the right bank and land the last two battalions. If things didn't go well on the left bank, a extra two battalions would be used to reinforce the assault on the fort.

The first two Ironclads steam into the river mouth. Fort Chiccanchee sits on the right in this photo (left bank).

Fort Chiccanchee, consisting of heavy emplaced gun, mortar and a defensive redoubt with defensive artillery.

The view from the river just before the bombardment commences.

The big guns fire

In it's first shot the USS Humphrey manages to take out the big gun. 

And next thing the USS Hunter destroys the artillery in the redoubt. This is looking too easy!

The heavy battery on the right bank scores a hit on the USS Humphrey, which reduces her speed.

The timberclads arrive.

The naval landing troops and 18th Ohio landed.

Clibing the slopes towards Chiccanchee. The South Carolina battalion can't stop them.

USS Humphrey lands another lucky hit on the last heavy artillery redoubt.

USS Hunger has taken a few hits that have knocked out some guns, but it still manages to land a battalion on the right bank.

The assault goes in on Fort Chiccanchee

The Right bank landing is getting into some trouble

The Ohio enter the fort from the rear and flank the South Carolinians...

... who can't hold on and rout!

The Confederate mortar is put out of action and the stars and stripes flies over fort Chiccanchee!

But things are going very badly on the right bank. 

The remnants of the landing party withdraw. 
So a mixed result. The primary objective, Fort Chiccanchee was taken and the left bank of the river mouth secured, but the Confederates still have control of the right bank. This means that the campaign in the Chickatachee valley will be without riverboat support, at least until another assault landing can be attempted.

I married the Featherstone-style ACW rules with a simple set of Ironclad rules written by Andy Callan and available for free on the net. They worked well, but I had to reduce the armour values of the ironclads mid game, otherwise it was taking way too long to do any damage. I also realised that none of my Featherstone style rules have any modifier for being outnumbered in melee, so I need to go and change that.

Nate