Today I glued some Prussian Musketeers to their bases and thought I'd break out the whole 7 Years War collection for a game.
I rolled a d6 and a d10 and consulted One Hour Wargames for a scenario. I rolled up scenario 5, secure the bridgehead. I then rolled on the table to discover the composition of the forces. Blue - Prussia - got 3 infantry, 2 artillery and a cavalry unit. Austria - red - got 4 infantry, 1 skirmisher and an artillery. I then doubled the result for the infantry and the cavalry, and set up the table for a solo game.
 |
| The set-up has a single unit (doubled to 2 in my case) protecting the bridge of a river crossing. There is a wood to their left and a hill to their front-right. (hard to see in the bird's eye view) |
 |
| In turn one the first Austrian units arrive in a random location. Both happened to appear behind the wood. |
 |
| In march column they begin to head for the bridgehead. |
 |
| The first Prussian reserves arrive - an artillery battery. I still have to buy some limbers. |
 |
| Turn 3 and Austrian infantry arrive on the road opposite the bridge. The first Prussian infantry reinforcements arrive as well. |
 |
| Turn 4 and the Austrian light troops make their way to the woods. The Austrian infantry begin to move into position. |
 |
| Turn 5 the Prussian gun gets into action, and first blood goes to Alte Fritz's boys. |
 |
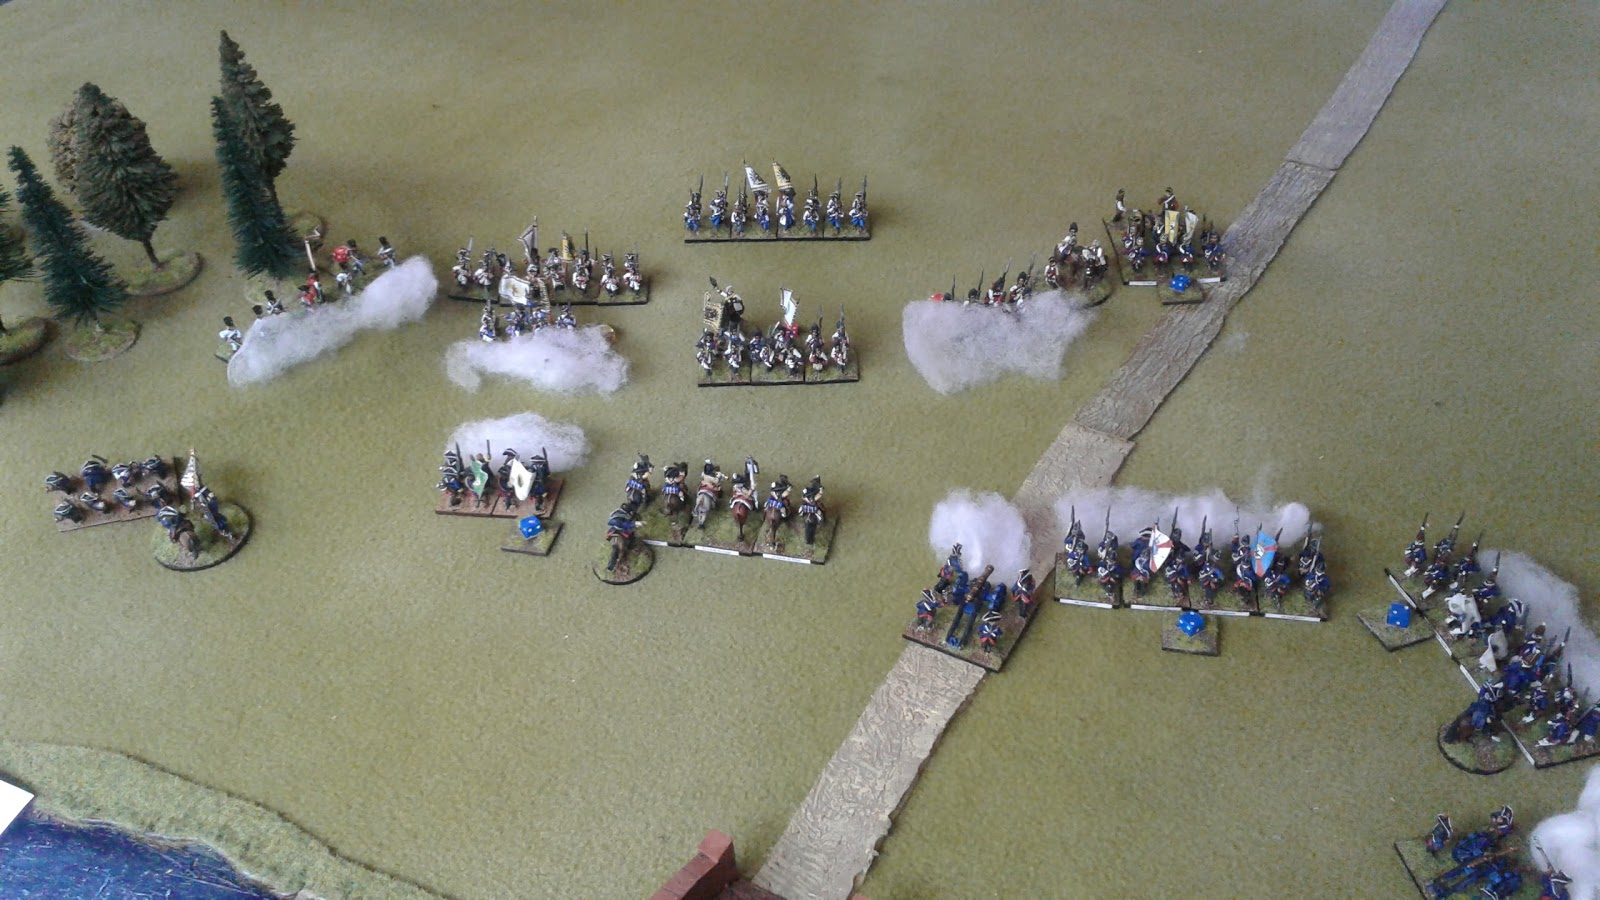
| Reinforcements are all on the board by turn 6, and the Prussians pour across the bridge. The two Musketeer regiments engage the light troops threatening the Prussian left flank. Out of picture on the right the last Austrians start their slow advance to join the action. |
 |
| Heavily outnumbered the Prussian combined grenadiers in the centre hold their ground. |
 |
| The Prussian cavalry forms up, the Dragoons on the right flank, the Garde du Korps Cuirassiers in the centre. The Prussian combined grenadiers manage one last defiant volley - they have done their job! On the right the artillery and Garde Grenadiers open up to devastating effect on the Austrians. |
 |
| With the Grenadiers gone the Prussian fusiliers are left in no-man's land. The Garde du Korps smash into the Austrian grenadiers and drive them back, then retire. The 18th Regiment charges into the Grenzers on the left. |
 |
| Isolated well to the front of the main Prussian lines, the 47 Rohr regiment chooses to attack rather than withdraw! |
 |
| On the left the Austrian grenzers defend stoutly. |
 |
| On the right the Austrians get themselves into position to release some volleys. |
 |
| The Dragoons move around to prepare for a charge. |
 |
| All Prussian troops are now engaged. The edge of the woods has been cleared of one Grenzer regiment, but another awaits. |
 |
| It only just manages to deploy and release a blast of grape, but it is too late, and the Austrian artillery is destroyed by the Rohr regiment. It happened to be just 6cm away form support - one cm too far for it to count! |
 |
| On the right the Dragoons are pushed back, but the Prussian firepower continues to whittle away the Austrian attack. |
 |
| The Garde du Korps charge again and the Austrian grenadiers are destroyed. The Batthyanyi Regiment has turned to face the Rohr regiment nad now has it's flank open. |
 |
| The Grenzers are chased back, while the Austrian Starhemberg regiment attempts to break through the Prussian Musketeer Regiment 10 Pannewitz. |
 |
| On the right volleys continue to be exchanged. |
 |
| Last turn and the Starhemberg regiment breaks the Prussian 10th. But the Austrians are now spent. |
 |
| As the battle ends Austrian victory remains elusive. |
The 7 Years War armies are mostly Old Glory 15s, and were given to me by Geoff a few months ago. I've spent some time here and there rebasing them to fit my organisations. They were pretty much all painted - I am responsible for the light troops, a few of the cavalry and the 2 Prussian musketeer regiments that are a combination of Old Glory figures and Lancashire that I bought to make up the numbers. I have to say that I love this period for wargaming, probably more than any other horse and musket era, and it is fantastic to see the troops arrayed n the table.
The rules are adapted Neil Thomas Introduction to Wargaming rules, and have a few holes in them, which I've set about rectifying this afternoon. Mostly around morale and support, as the Ausrians really got no benefit from being very well deployed for support on their right flank. I'm also not sure about the 'super-fusiliers' that managed to be isolated and still fight like demons. Despite this, the rules gave a really pleasing outcome, and an enjoyable game. I'll complete the basing of the Prussians tonight and I look forward to another similar scenario soon.
Nate


Sounds like you had a pretty good time Nate! Great to see.
ReplyDeleteA small solo game where every unit matters; something I enjoy as well.
ReplyDeleteGood to see horse and musket on your gaming table again.
Looks nice, nice and bloody!
ReplyDeleteWell done, Nate - a really fine game and a nice, manageable scenario as well! Total win!
ReplyDelete